
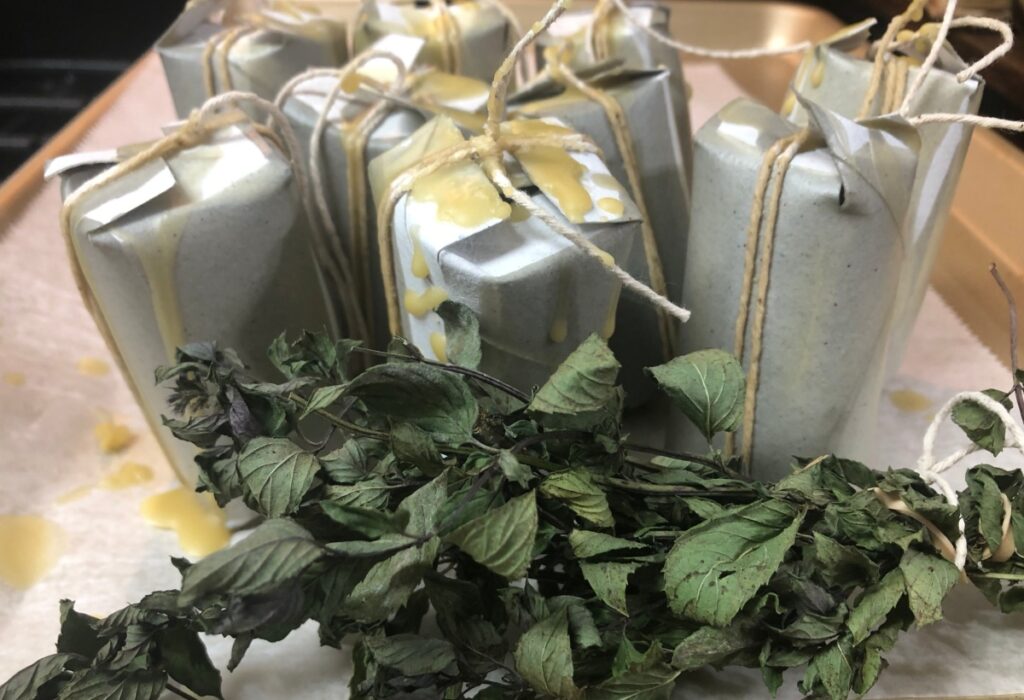
It is turning fall here in the North and it is a good time to make some DIY fire starters. I thought adding in some bug repellent will make them useful even into next spring. Fire starters are helpful when you are a newbie at starting a fire like we are.
Can you picture sitting by the fire with your family, watching the flames flicker and dance? Relaxing and drinking something hot or roasting some marshmallows? We like to use our fire pit as a dual purpose tool at our house. One for relaxing and staying warm at the end of the day, and another for creating wood ash. The wood ash we use to add into our chickens dust bath.
We also had a tornado not too long ago and needed to burn the limbs that fell. As well we had some scrap wood from projects outside. I found this post on making your own DIY fire starters with wax, toilet paper rolls, yarn and lint from your dryer. So, we have been saving all of those items as they become available to us. This particular article said you could use up left over candle wax. What we had was Bees wax pellets. But I also had the idea since then to add dried mint to keep away the bugs.
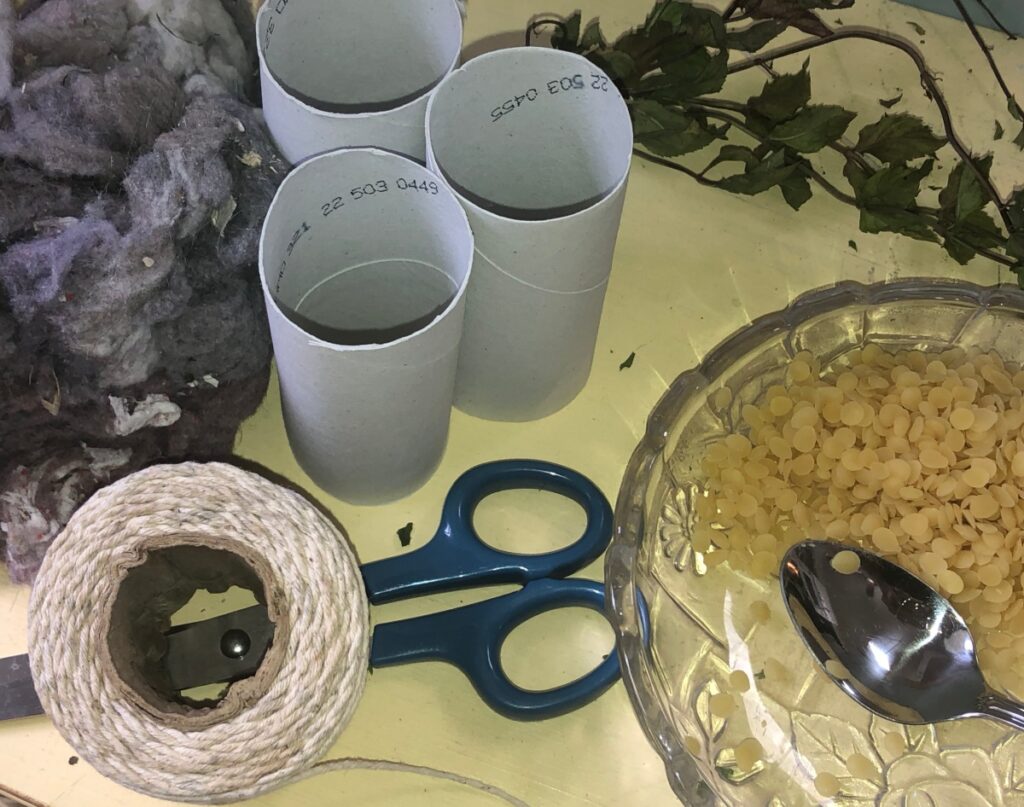
What to Gather:
- Wax of some sort, we had yellow beeswax pastilles on hand (and I am not a fan of regular imitation smelling candles. They tend to trigger migraine symptoms and aren’t very healthy for anyone.)
- sauce pan
- heat proof bowl
- dried mint, peppermint or Rosemary
- String
- recycled toilet paper tubes
- Wax paper
- cookie sheet
- Dryer lint, wood shavings, dried herbs, cedar chips, dried twigs, etc.
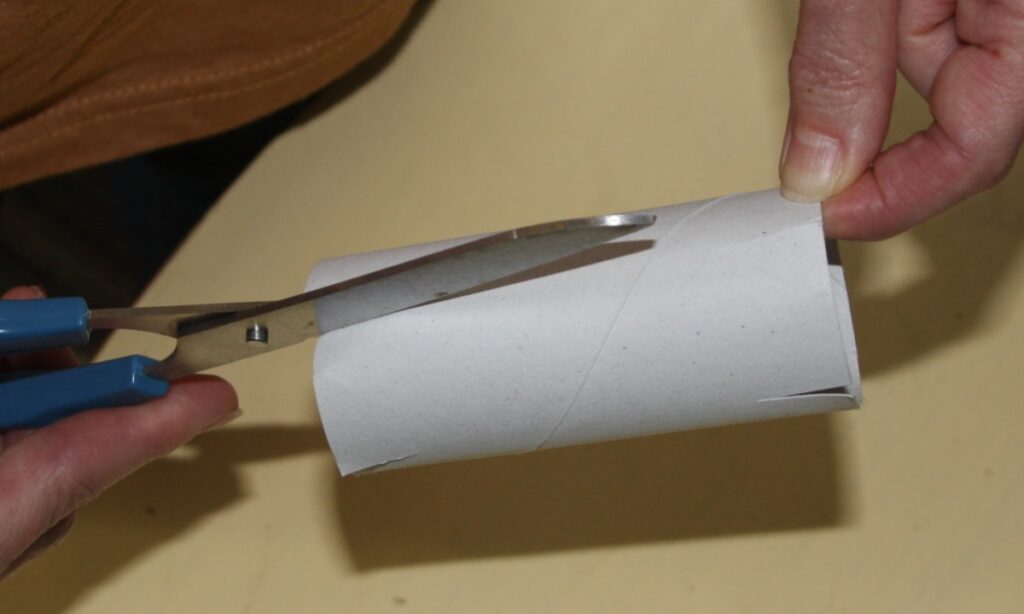
Start by cutting the toilet tubes on one end in four even places about 1/2 inch slits and fold inward. Stuff the lint, wood shavings, and/or dried herbs into the tubes. Next, cut the other side of the tube the same as the first end.
Then, fold in the cardboard tube slits in toward the center, overlapping them. While holding one end closed, start wrapping the toilet paper tube from one end to the next. Wrap the string around twice and tie off at one end.
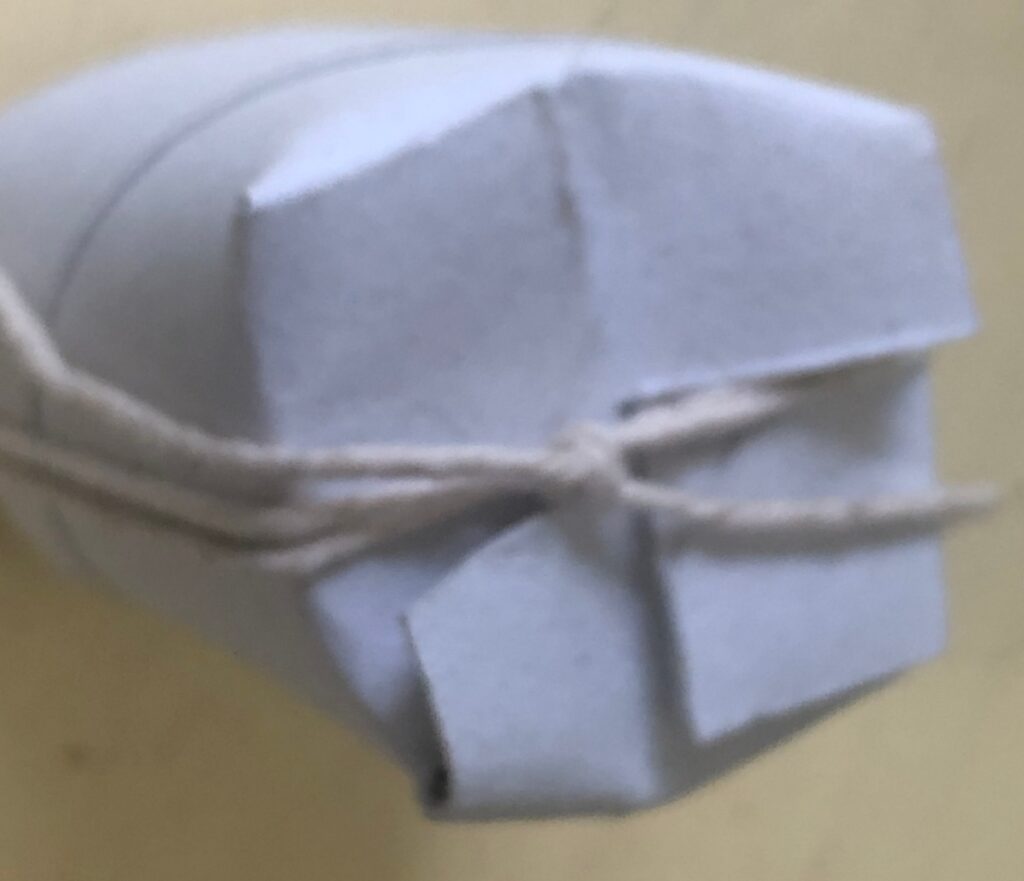
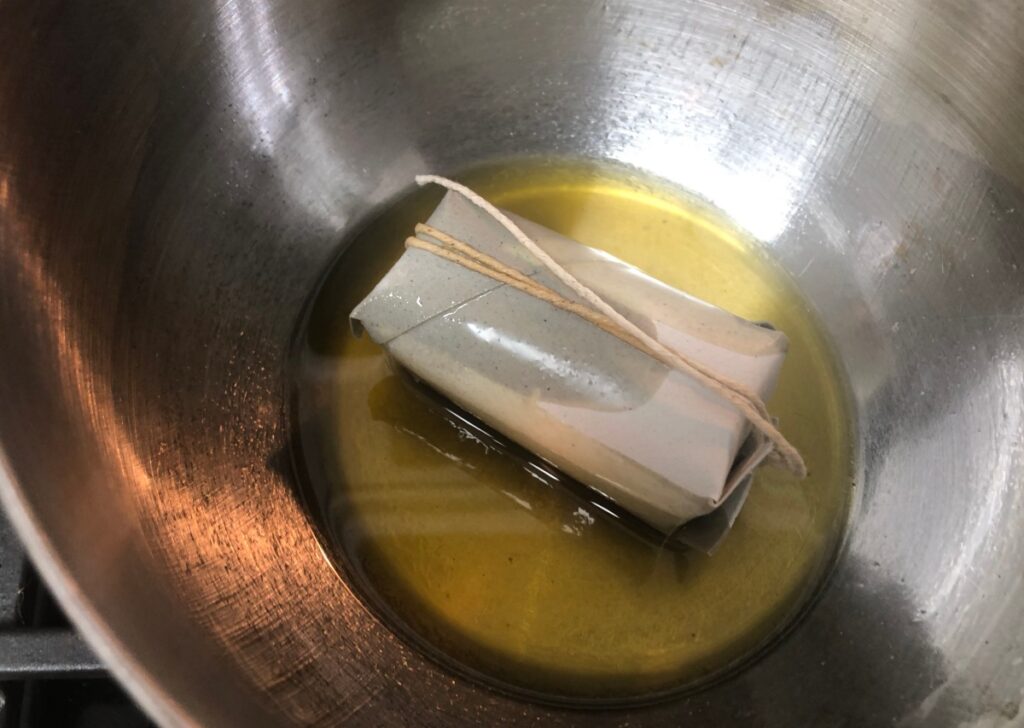
Leave about 1 ” tail on both ties so you can start the tube on fire easier. To start melting the wax, you make a double boiler with the sauce pan and heat proof bowl. Add in about a tablespoon or two at a time. Melt the wax by stirring with a chop stick or something you don’t mind getting wax on.


Once the wax is melted, then you can dip the tubes in one at a time until they are coated. Place them on wax paper on a cookie sheet. This way you can move them to where ever you have room to cool them.

Fire Pit Instructions
My hubby and I worked hard on creating a fire pit this summer. Well, mostly the hubby. It was such a hot time to work on it, too. But we pressed on. Later on we learned that building a cheap DIY fire pit in the ground wouldn’t work for our back yard. It fills to the brim with water when it rains. So, alas, we will be redoing it, but for now, we still use it once in a while, if it has been dry.
Once we redo it, I will share a post on it. What do you do to start a fire in your fire pit? Do you have any tips and tricks to share with others? Share them down below in the comments if you want. Happy relaxing!
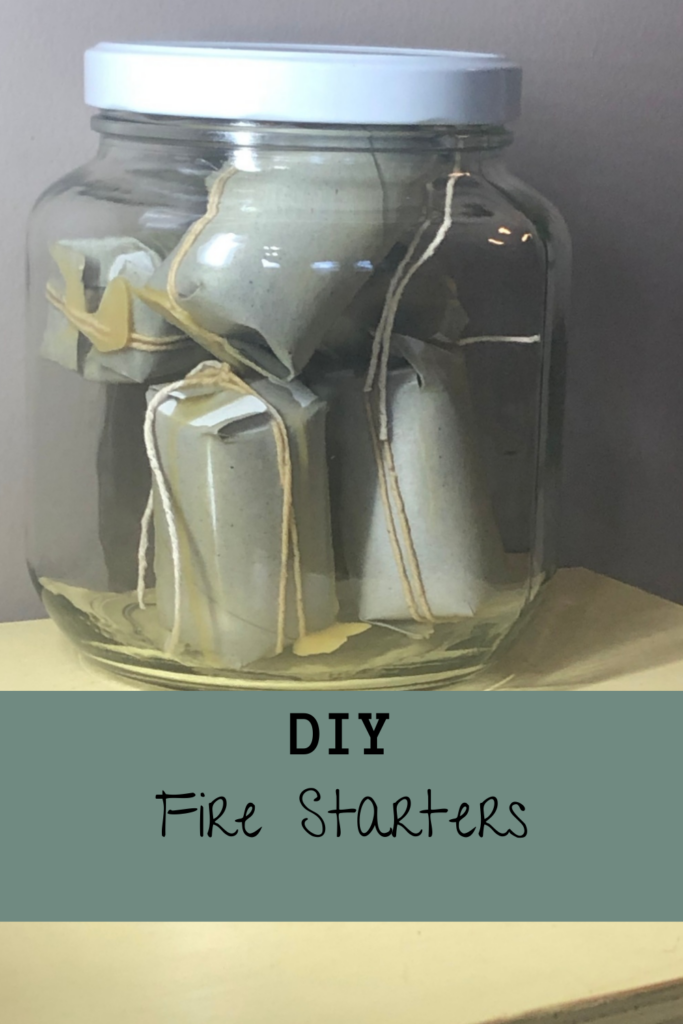
Pin for Later!
Oh wow! This is such a good idea! There is nothing better than sitting and warming up by the fire. Thanks for sharing the instructions, very helpful!
Jeanie,
Thanks for your encouragement. I hope you try them and they work for you. Have a blessed day!
Kimberlee
I do accept as true with all of the concepts you have introduced on your post.
They’re really convincing and will certainly work.
Still, the posts are too quick for starters. May you please lengthen them a little from subsequent time?
Thank you for the post.
Hello,
I am sorry that you are feeling that I went too fast through the instructions. I will try to add more details.
Kimberlee
Wow!
It looks great.
Also see you have your email working now!
Thank you for sharing Kimberlee.
You need to take part in a contest for one of the highest
quality websites on the web. I will highly recommend this website!
Way cool! Some extremely valid points! I appreciate you writing this post and
the rest of the website is really good.
Thanks for your comments, Fred! If you ever have any questions, just let me know!
Kimberlee