
What Is Winter Sowing?
Winter sowing is a seed-starting method in which the seeds in the container outside begin to sprout. Some seeds need cold stratification. That’s just a fancy word that means those seeds need cold and moist conditions to germinate. These seeds need this process to overcome dormancy and sprout.
This is a normal process for certain seeds that fall off plants in the late summer and fall. They get covered by leaves and other natural materials and then when the temperatures are right and they have enough moisture, they begin to grow. The container allows this constant moisture and air circulation, plus the seeds are safe from animals and harsh weather.
What to Winter Sow?
In the early part of the year, such as January 15th I start to sprout the most hardy of seeds such as Broccoli, Lavender, Phlox, Rudbeckia, Rosemary, Sage, Thyme, Salad Greens. Most seeds will work. Root veggies may or may not work. Once March rolls around then I start to plant more tender varieties such as Cosmos, tomatoes, peppers, zinnias, Basil, and dill. I live in the Northeast so don’t start my winter sowing until the middle of January and then the annuals in the middle of March.
If you’re not sure if your seeds need this cold treatment watch for these words: “self-sow”, “direct sow in the fall”, direct sow in early spring”, “cold hardy”, “cold stratification”, as well as any perennial plant. Look for native plants such as joe pie weed, jewelweed, butterfly weed, and wildflowers.
When to Winter Sow
If you live in an area where it doesn’t get all that hot in the summer, you can start things like cucumbers and squash early in your winter sowing containers as well. When they are ready to start sprouting, they will poke their cute two leaves right on out. You can start winter sowing from December all the way through to April. This depends on your area and weather conditions.
First, I plant the perennials in the colder parts of the year, the seeds that need the stratification. Lastly, I plant the annuals that don’t need the cold method to start sprouting.
Save For Later!

What Are the Benefits of Winter Sowing?
Using a container, sort of greenhouse effect, the seeds stay more compact and the seeds are more hardy being out in the elements this whole time. This helps them to not need the hardening-off process. Woo hoo! I dislike the hardening-off process with a passion. I am not good at it, so therefore I avoid it with a vengeance.
In contrast, sowing seed in the ground can be a coin toss. The seeds can be washed away, eaten by critters, bugs, and birds; desiccate in the wind, or rot in the soil.
This is an ideal process if you don’t have very much indoor space for seed starting. AND there is no special lighting or equipment for seed germinating.
We still do some indoor seed starting but there isn’t room to start all of the plants I want to grow. This way I can be assured that I will at least have some plants ready when the time is right. Even if some of the plants don’t make it, I am not out that much money compared to if I went to the nursery in town and my plants didn’t do well at $5 or more each.
How To:
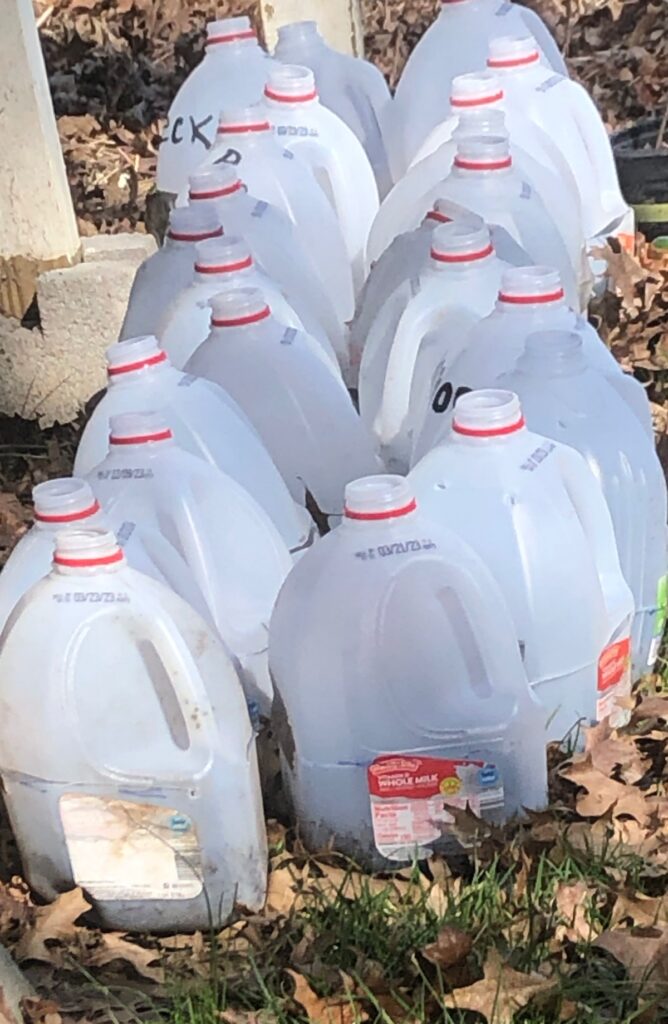
- Wash the container in hot soapy water, rinse, and let air dry. You can use any sort of clearish container like a rectangular empty salad container if need be. I used two of these last year since I ran out of milk jugs ( you just have to put holes in the top of it to allow for rain to get in.) Milk jugs are preferable because they allow for the seedlings to be able to grow taller while you do all your planting in the spring. I was even thinking of using a large-sized salsa bottle. Throw away all the round tops of jugs. This allows for the rain and snow to get in.

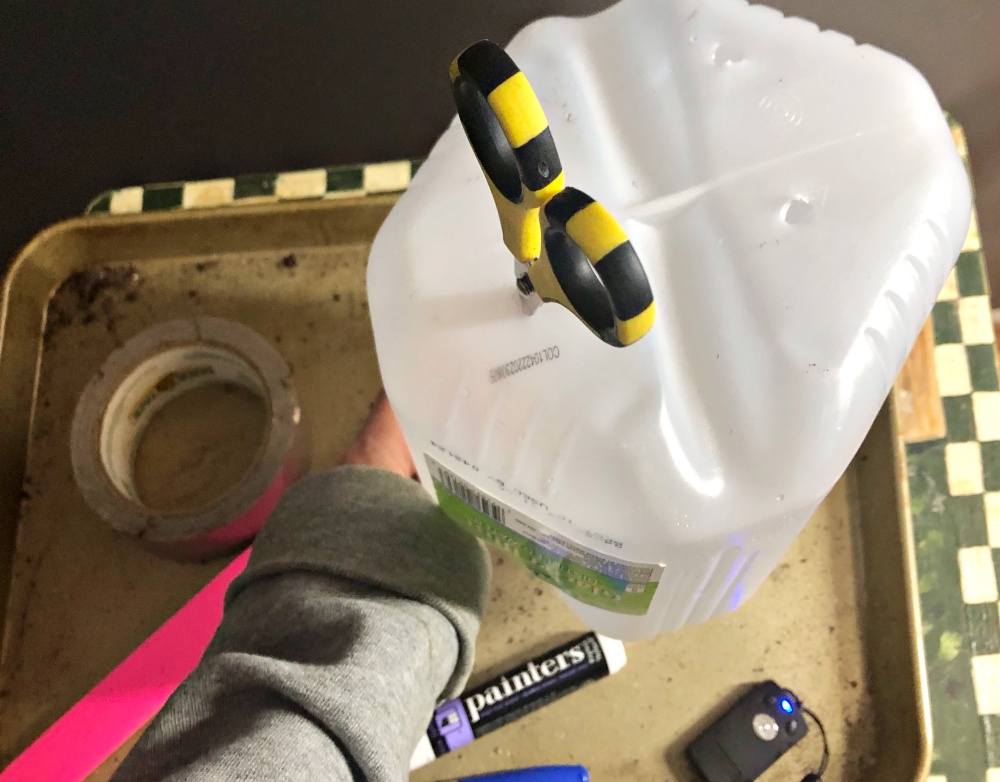
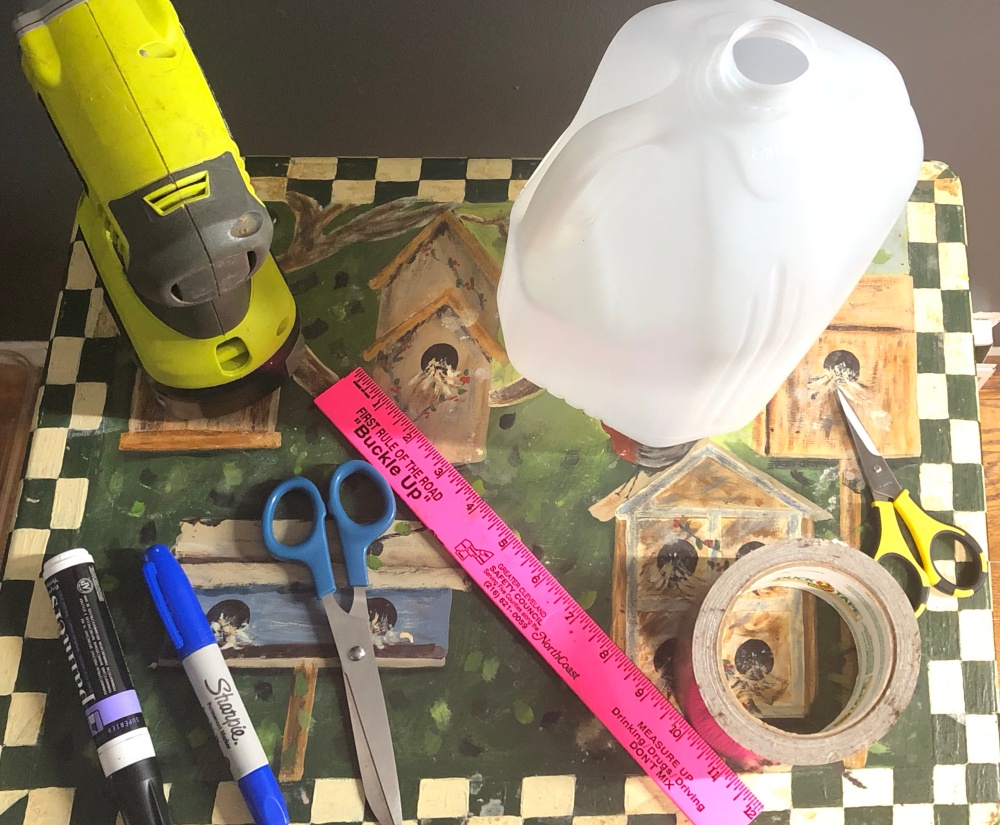
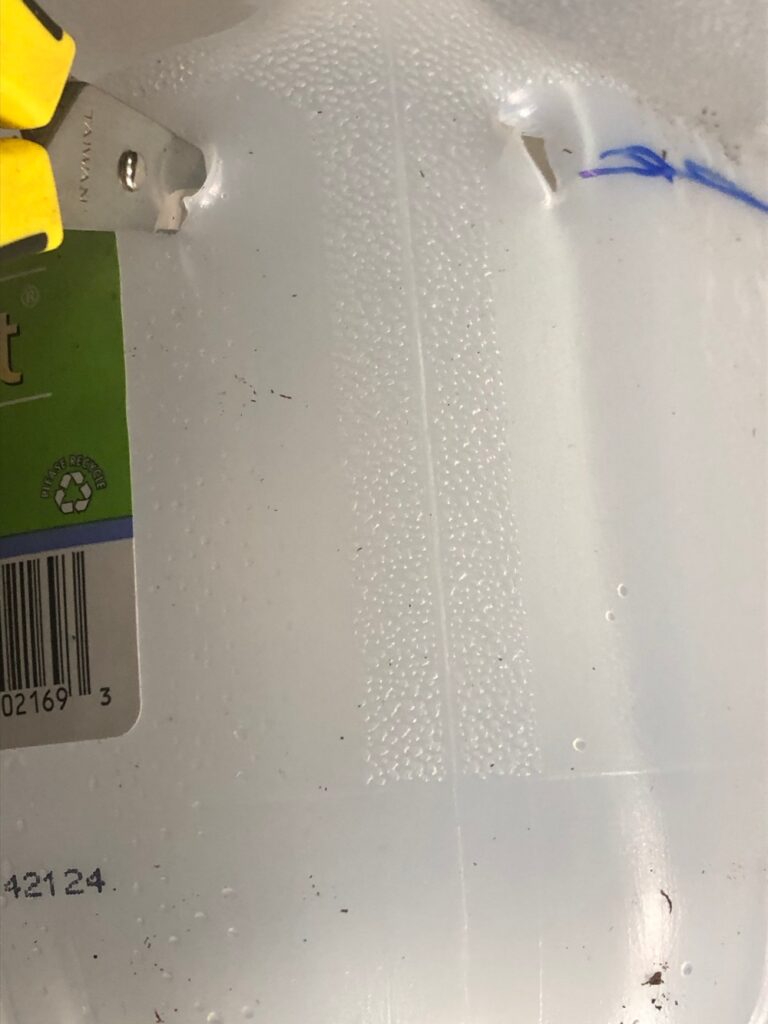
I start with the bottom of the container and write with a paint pen what it is on the bottom and on the top of the jug. (If you use a permanent marker, it could wash off in the snow and rain.) If you want to be extra safe, stick a plant marker inside as well. Make holes in the bottom of the jug with a sharp scissor, awl, drill, or woodburning tool. You only need holes in the top if it has a flat top such as a container for salad, berries, etc.
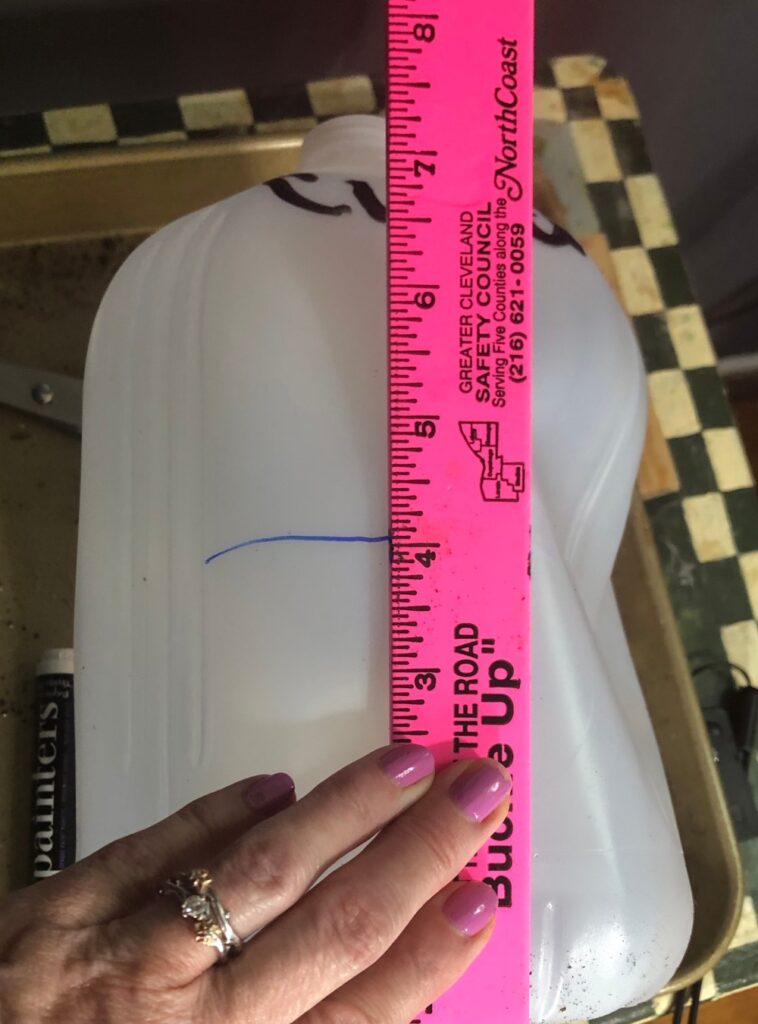
- Cut open container- Mark a 4″ line from the bottom all the way around with a ruler and marker. Start next to the handle, but do not cut the handle off. This is the hinge.

- Put in about 3″ of soil. If you are going to do a lot of winter sowing as I do, it can get pricey, so I just purchased some good organic potting soil ( I like this one from Lowe’s). You can use a seed starting mix, but it is so expensive. Or you could mix up your own seed starting mix. Now you need to make it moist, like it kind of sticks together like dough but not dripping wet. I have a YouTube video here. I usually do this over a cookie sheet so when I carry them outside, they don’t drip all over the floor.

- I usually scatter the whole package of seeds all over the surface. That way if some of them don’t grow, I have extra to deal with. Press them in lightly if they are a larger seed. If it is a tiny seed, I just cover it lightly with more soil. The general rule is to plant seeds 3 X’s as deep as the diameter of the seed.
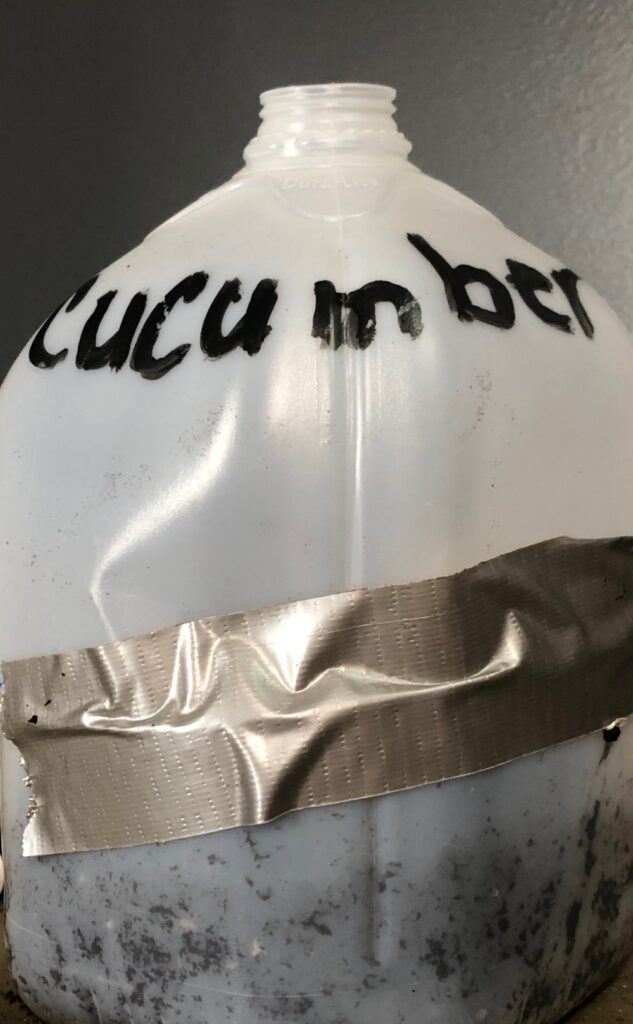
- Use duct tape to tape it closed. I don’t usually tape the whole way around. You just want to make sure it doesn’t blow open in the wind. You can also use twist ties in two places if you want to easily open and reposition it. Tape can be tricky and sticky.
- Set it outside and forget about it. You can sneak a peek every once in a while.
- If temperatures get in the hotter range such as 70 and above, get out there and water and set in partial shade. We don’t want to cook our seedlings.
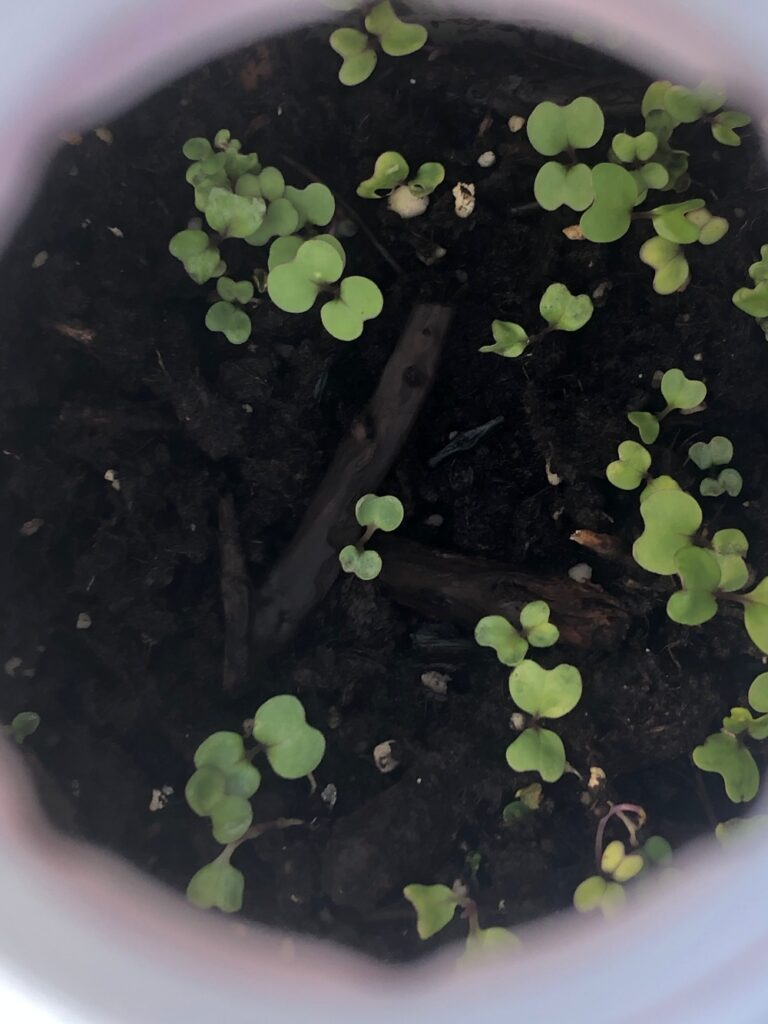
Remember to wait to plant anything until the seedling has 2 sets of their true leaves. The first 2 are the cotyledons and the next two are the true leaves. Watch your local weather and only place in the ground when the soil temperature and air temperature are right for each particular plant.
Try not to plant them really close to the house or under an overhang, or they won’t get the rain or snow needed to stay moist.
When they are ready to be planted, open the containers, and water the seedlings. Let the seedling drain and then push up from the bottom of the container to pop the whole bunch out! I take my hori hori knife and cut them into bunches and plant. You can use fertilizer if you want or compost works well too. I plant mine in 3″ of compost and lasagna layers underneath so I don’t usually fertilize.
One place I like to gather words of wisdom from is the Winter Sowing Facebook Group. It is such a wonderful place to glean information and encouragement from!
Happy Planting! Have you ever tried winter sowing? If not, what is your favorite seed-starting method? Let us know in the comments below!
Blessings,
Kimberlee
Latest Posts:
- Shade Patio Structure
- The Cheapest Ways to Preserve Herbs
- DIY Frugal Birdbath
- The Best Gloves for Gardening
- Inspiration on How To Pay Off Debt
Thanks for sharing. I read many of your blog posts, cool, your blog is very good. https://accounts.binance.com/ru/register?ref=V3MG69RO